Manage server users
Introduction
User management is primarily handled in Keycloak.
 Use Keycloak for:
- Creating users
- Updating user profile information
- Managing credentials and sign-in methods
- Connecting to upstream IAM services
- Configuring identity federation, OIDC and SSO
The salax-admin user view is no longer the primary tool for user management and is deprecated. Use it only for Matrix-specific actions that are not handled in Keycloak:
- Promote a user to a server administrator
- Deactivate a user
- Reactivate a user
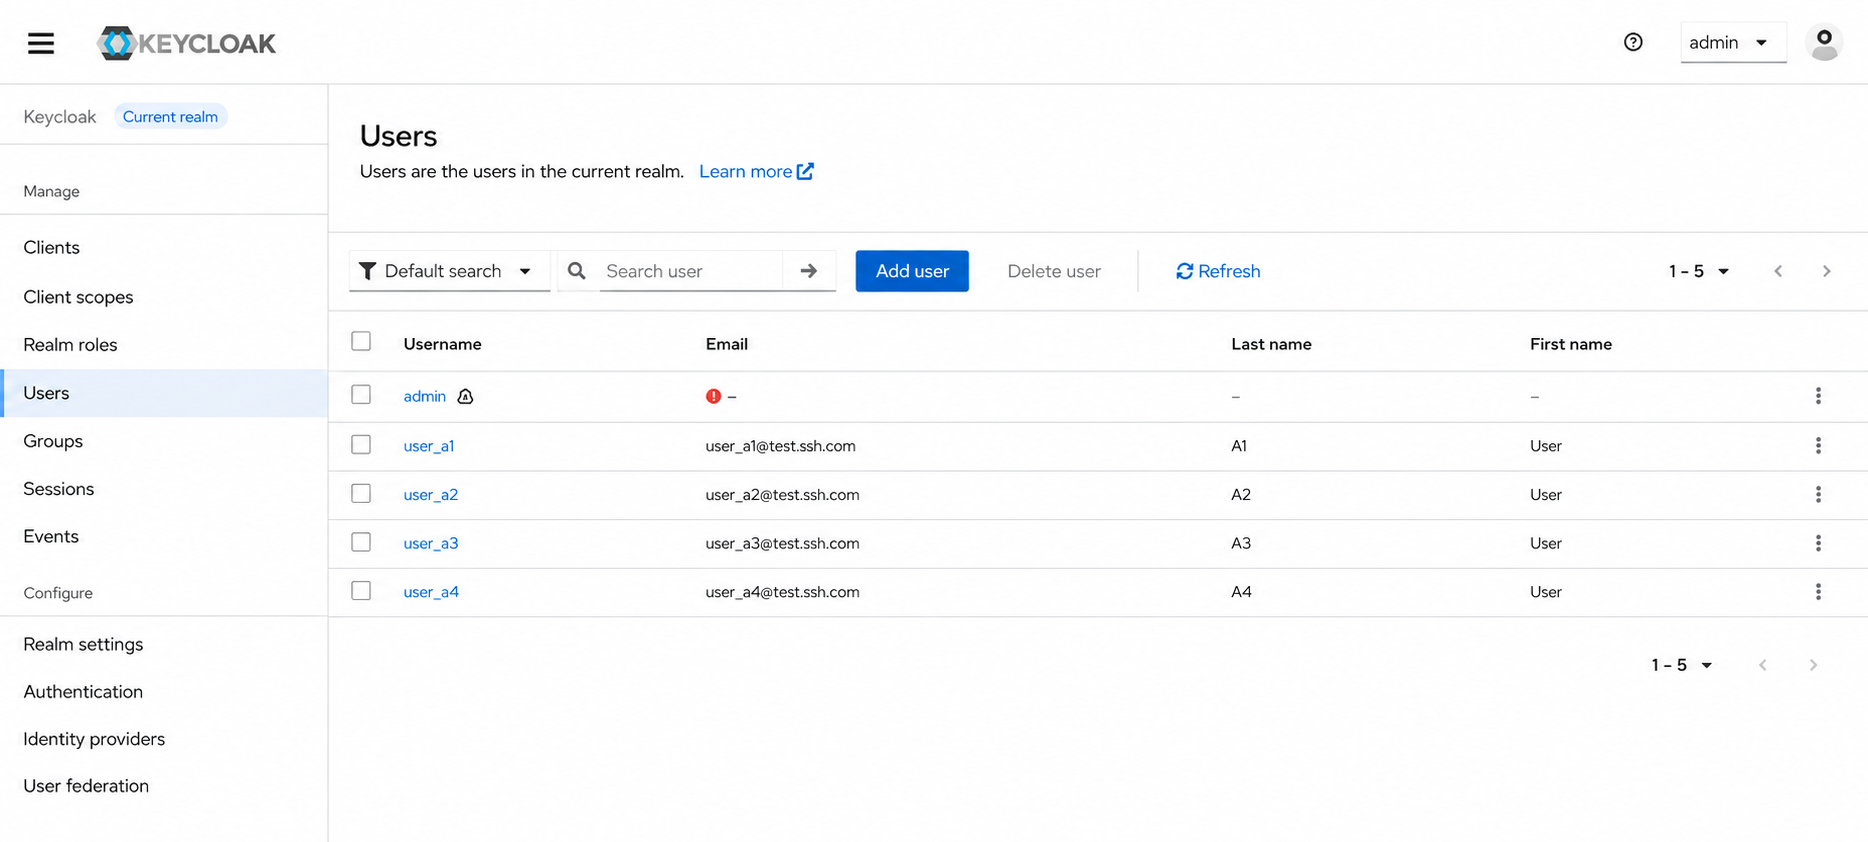
Manage users in Keycloak
Use the Keycloak admin console for normal user lifecycle management.
Typical tasks in Keycloak include:
- Creating new user accounts
- Editing user details
- Resetting credentials
- Managing and configuring external identity providers, upstream IAM integrations and SSO.
If your deployment uses an external identity source, user data and authentication flow should be managed from Keycloak and the connected upstream IAM service.
Use salax-admin only for Matrix-specific actions
To perform Matrix-specific user actions, navigate to the Users tab in salax-admin, you will see a deprecation notice over there. Use the slider to show the list of users and then perform the required action.
Promote a user to server administrator
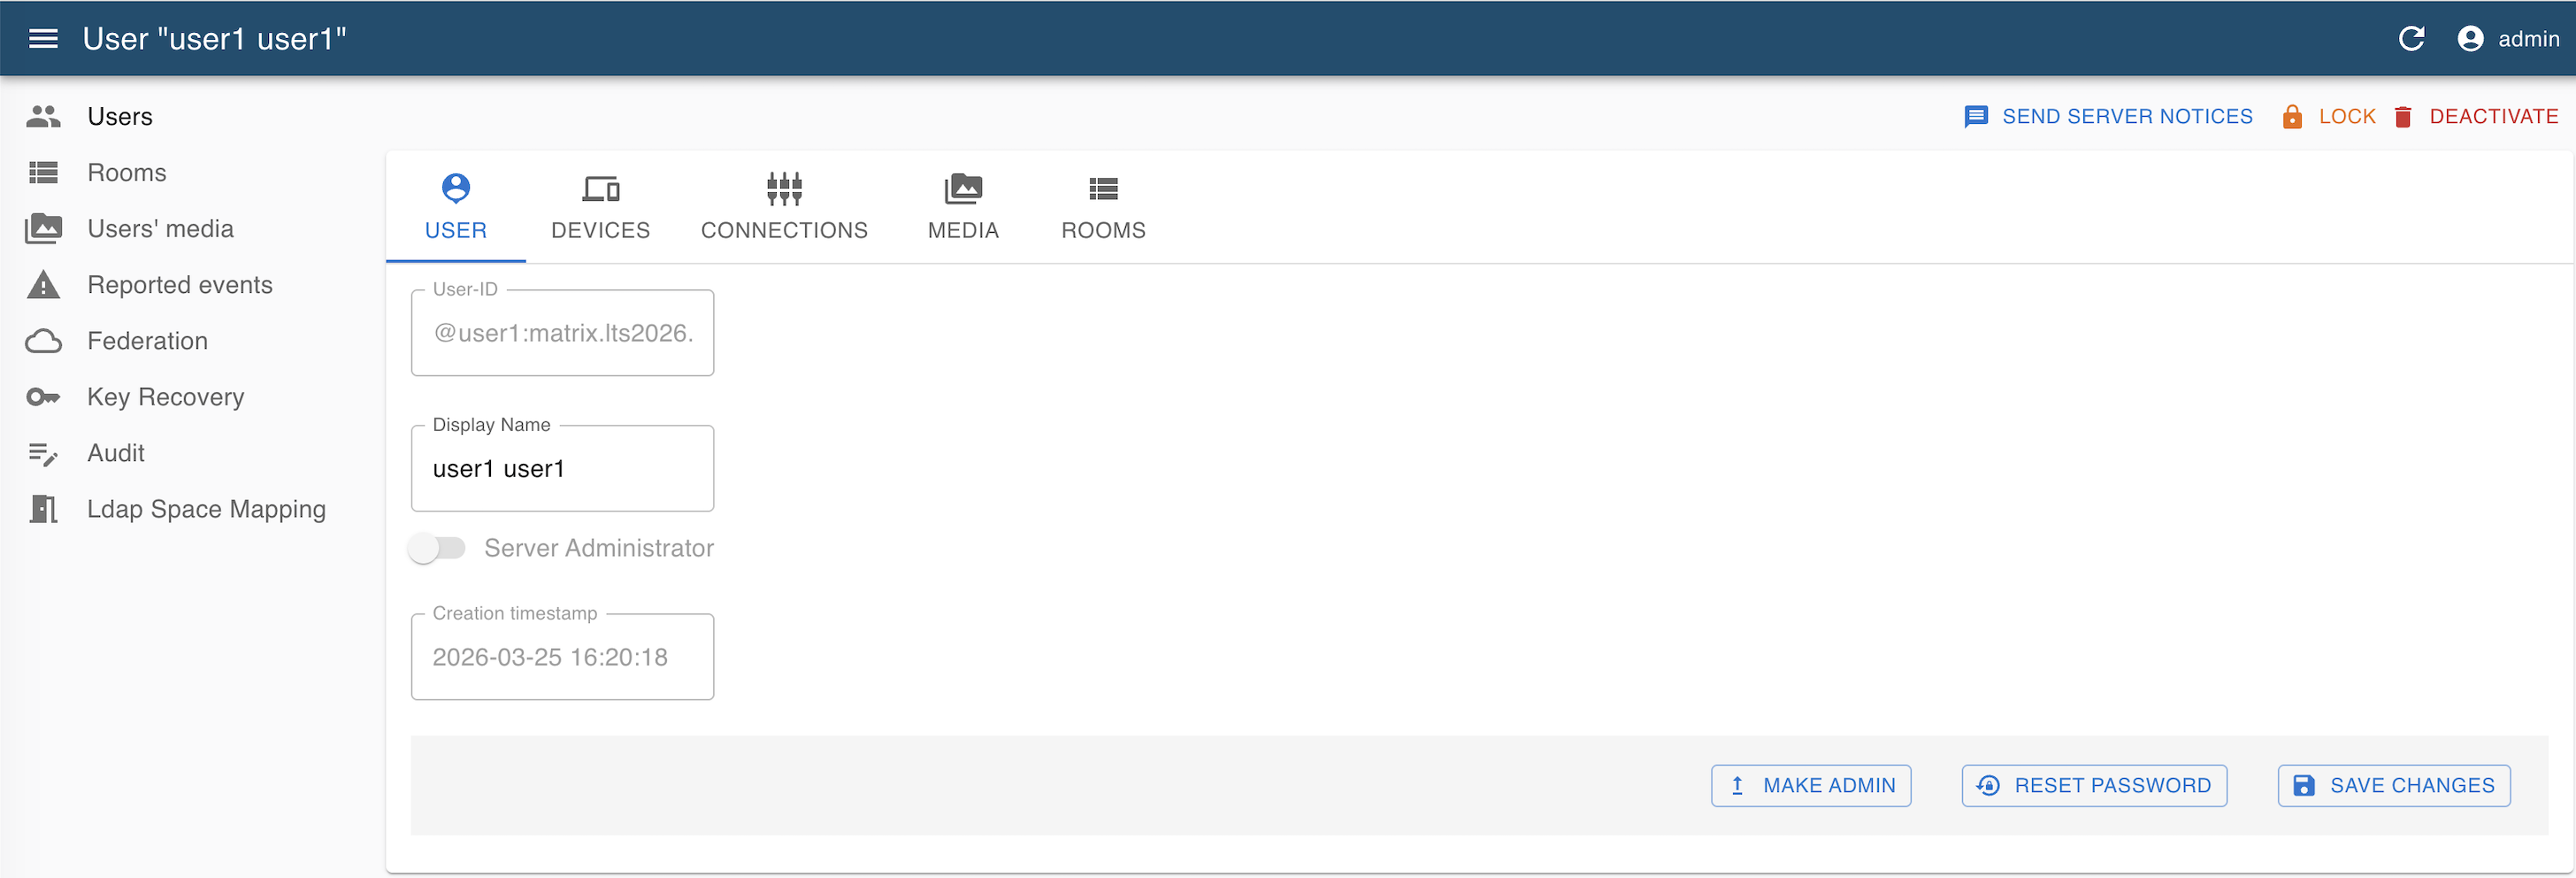
- Open the user account that you want to update.
- Click on "MAKE ADMIN"
Deactivate a user
- Open the user account that you want to update.
- Click on "DEACTIVATE" on top right corner.
- Next, confirm it when asked.
Deactivation disables the user's Matrix account until it is reactivated.
Reactivate a user
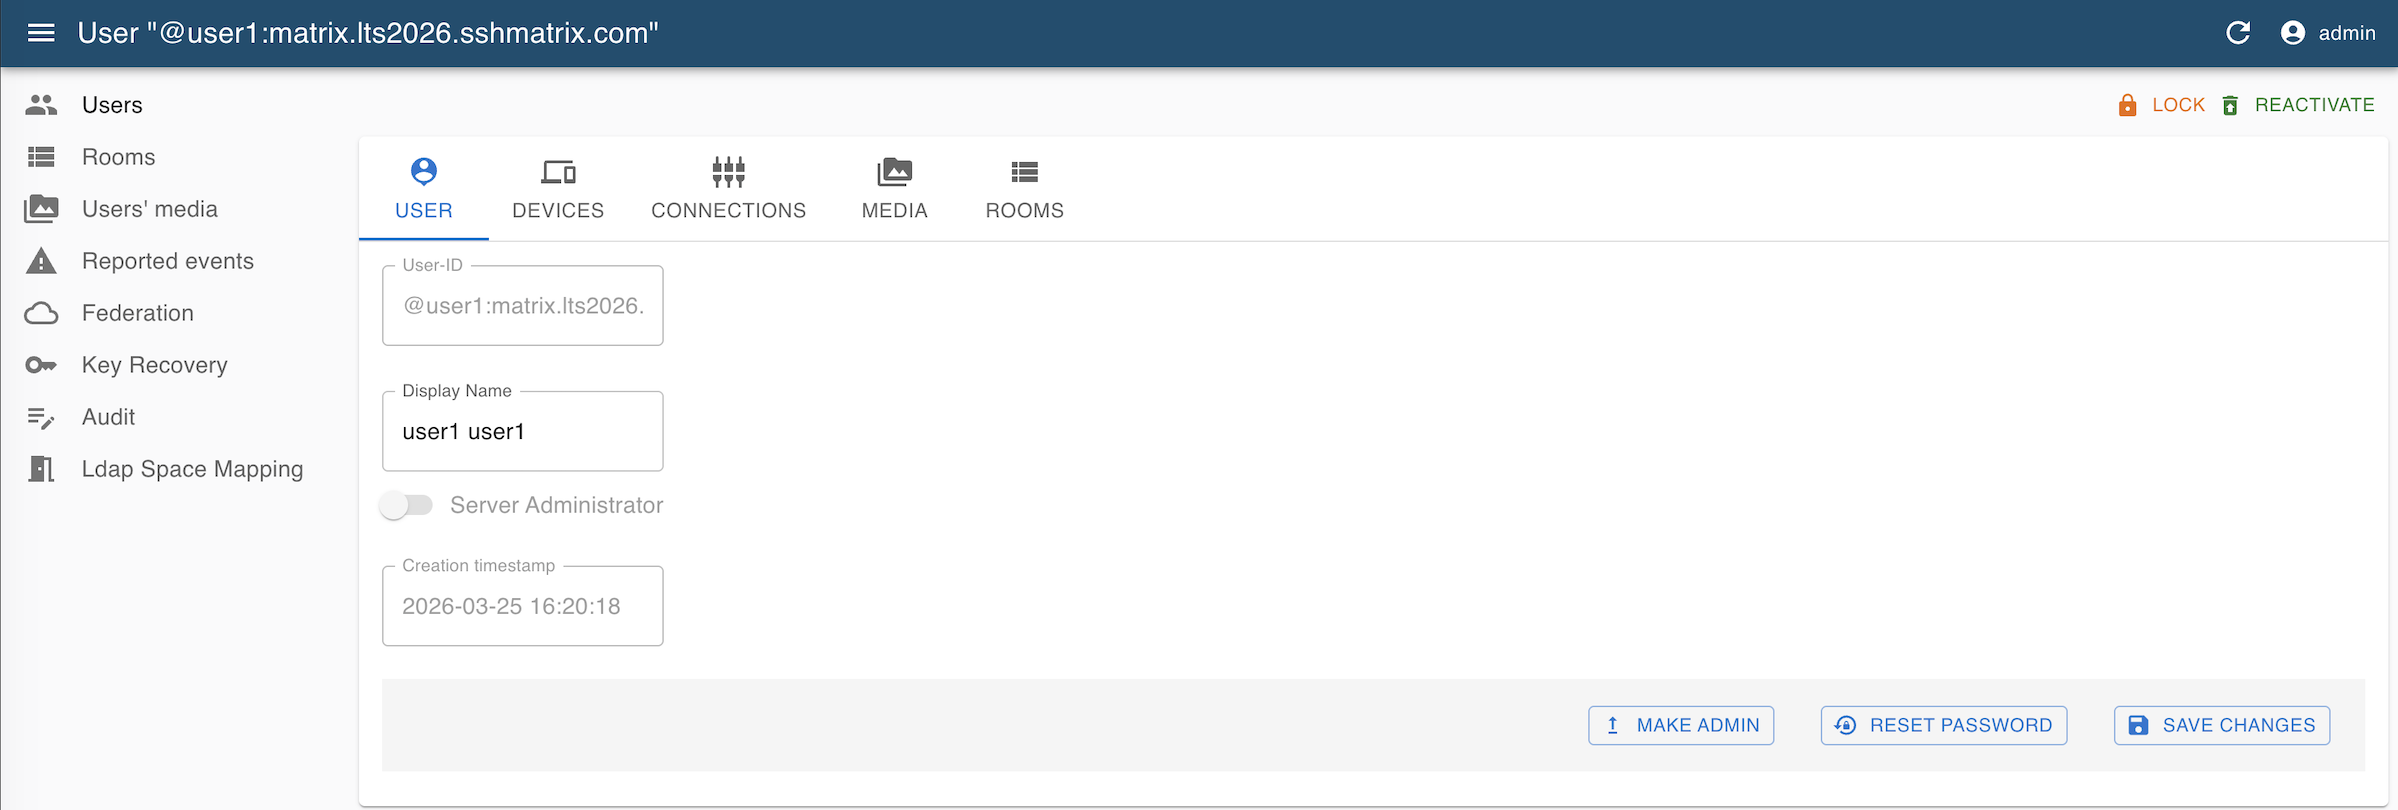
- Open the user account that you want to update.
- Click on "REACTIVATE" on top right corner.
- Next, confirm it when asked.
After reactivation, the user can use the Matrix account again.